
The first block consists of two residences with an attached tea shop and garden. There currently aren't much in the way of options for buildings of this type in 28mm, so everything here has been scratch built.

I didn't have the funds (or want to spend the time) to try to cover everything with textured plastic sheets, so I've opted to use OO scale paper textures from Scalescenes.com enlarged to 120%. These have been supplemented with Chinese architectural details that I've accumulated here and here (all free for personal use). Though not as nice as what Jimbibbly is able to produce, I think it still looks effective and not too flat.

The buildings themselves are built from Woodland Scenics 1/4" Modeling Sheets C1176 and art board. The sheets were a real find (I'd been struggling to locate high density foam in thin sheets locally) and finally gave me the opportunity build some thicker walls without the hand strain of cutting up and stacking multiple layers of art board.
In the garden, I've used a Woodland Scenics tree with dry brushed foliage and some Walthers/Noch SceneMaster plants. For ease of construction, the garden was built on a stand alone piece of card and then glued into the appropriate spot.


I plan for fighting within the alleys and buildings to be a significant part of the action, so I've made lift off roofs for the main buildings and added some simple interior details.

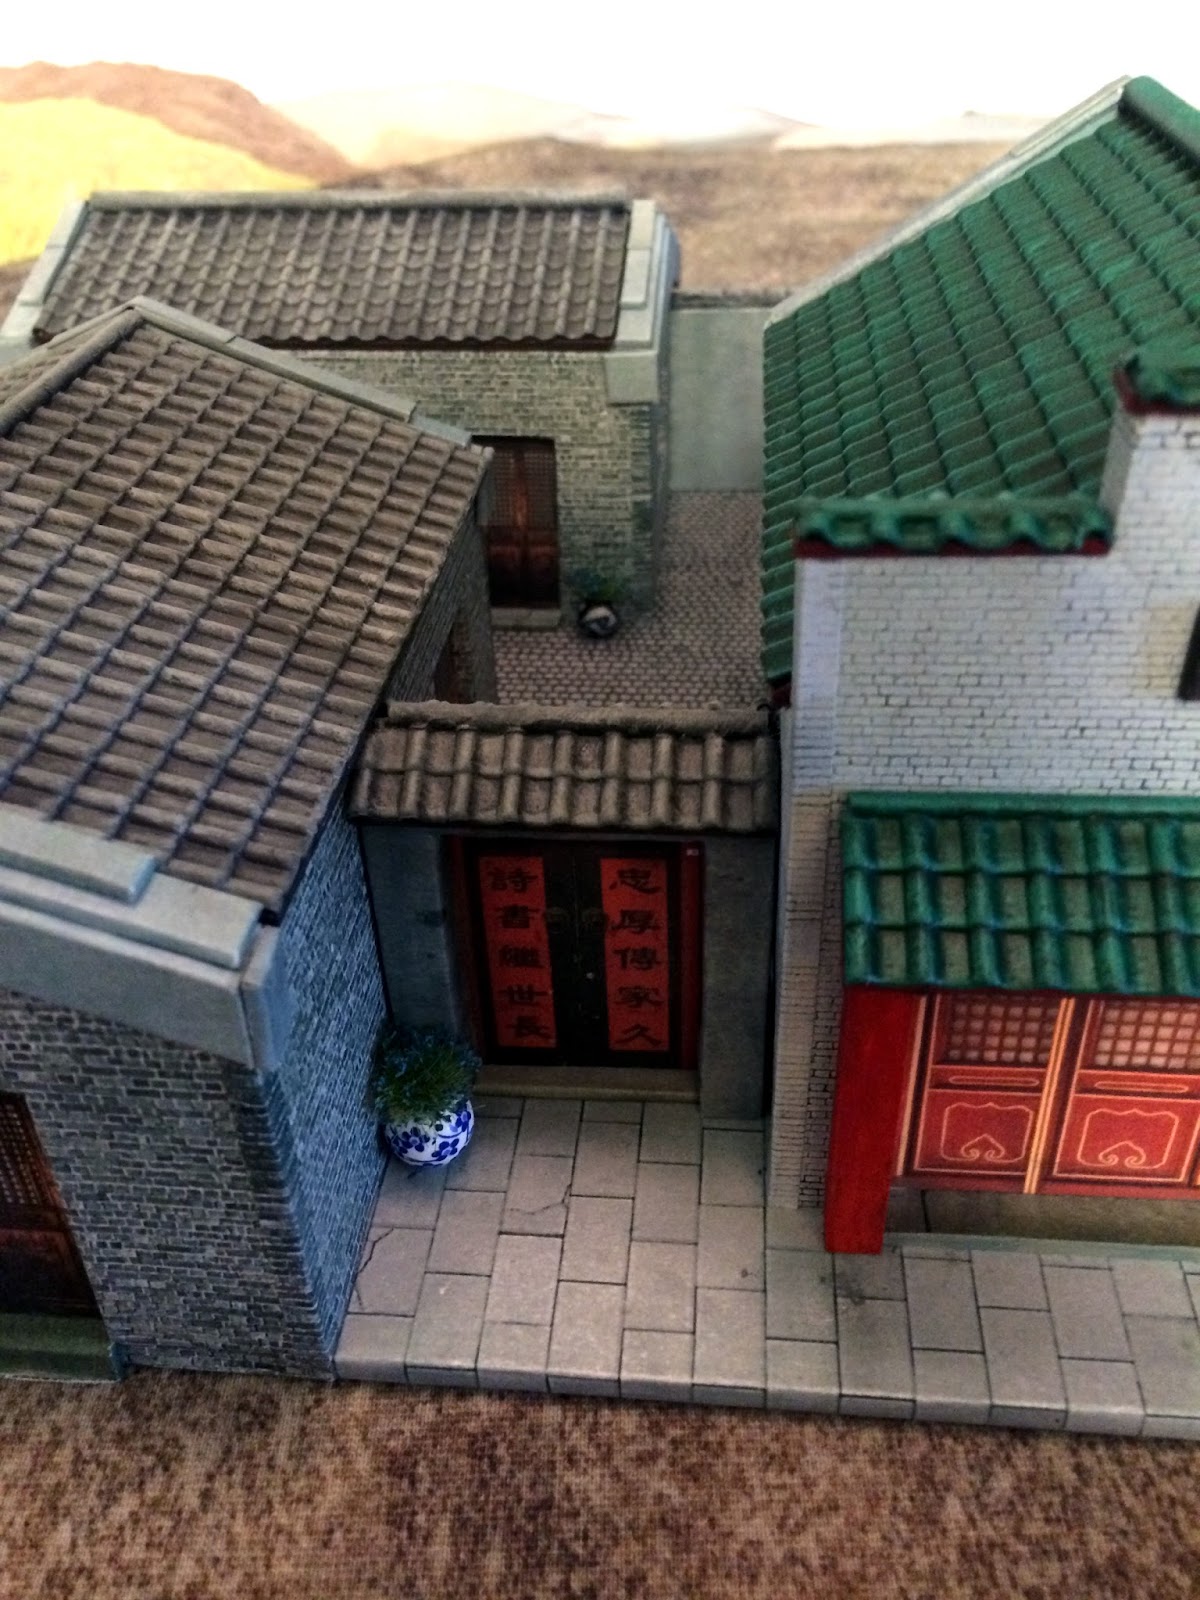
I didn't want everything to be flat, so I have used some plastic tile sheets on top of art board to add some depth. The wall has been trimmed with O scale (1:48) Spanish Tile, while the roofs use Ridged Clay Tile; both were obtained from Plastruct.com. One sheet was enough for me to complete all the roofs on the block.

The center roof spines were made from various thicknesses of hard plastic tubing with the ends sealed with glue. For the front facade on the tea shop, rows of tiles were cut in half and the tube placed down the center. This tended to cause the tiles to stretch and flatten out, so I had to bend them back into shape and also decided to glue them onto an art board base to help with sturdiness.

I did take a few design shortcuts on the roofs to make things easier on me. First, I decided to go with flat roofs rather than curved. While this doesn't look as nice, I couldn't figure out how to make curved ones that would be study enough to survive being taken off and on. I also was having trouble figuring out how to create the elaborate end caps you often see on the roofs, so ended up just stacking various thickness of art board covered in concrete paper texture. Not 100% accurate looking, but I'm hoping it still gives the flavor of the real thing.

For this particular block I decided not to add a ton of clutter to the alleyway and garden, but thought a few potted plants would give it a bit more life. Not able to find 28mm Chinese pots, I managed to locate some beads at the craft store that look reasonable enough.


Finally, here is a shot of a few figures in front of the tea shop to give you a sense of size.

Working on and off, this block took me about a month to complete, but that also includes learning time on the construction and locating and modifying the architectural elements. My hope is that the future blocks will go together much more quickly.